Showing posts with label asian. Show all posts

Tuesday, September 21, 2010

Salmon Sashimi and Black Rice

I'd never heard of black rice until I saw a Food & Wine recipe for "Fried Forbidden Rice".  I thought it sounded exotic and at the very least, a different color so I set out on a search for it.  It has taken several months to locate some black rice because my local Asian market didn't carry any and I only recently went to my beloved H-Mart in Dallas when driving Josh to the airport.  The package was completely written in Mandarin so I just went on my previous knowledge of rice for cooking procedure. 

Rice, 2 servings:
4 cloves garlic, peeled
2 tbs vegetable oil
1 c black rice
1 c water
6 slices turkey bacon, coarsely chopped
1 small onion, diced
2 tbs low sodium soy sauce
salt
2 tsp Chinese five-spice
4 scallions, coarsely chopped

Sashimi, 2 servings:
6oz sashimi-grade salmon
thyme sprigs
lemon slices
drizzle of low sodium soy sauce


Slice the sashimi into 1/4" strips.  Lay down one piece of fish, then put a sprig of thyme on it, then put down a slice of lemon.  Repeat the sequence until you run out of fish.


Cover with plastic wrap and refrigerate for a couple hours to let the thyme and lemon infuse the fish ever so slightly.


Peel the garlic and place it on a sheet of foil. Drizzle it with a bit of oil and seal the foil into a secure package.


Bake at 350 for 30 minutes.  If you multiply the recipe, add some time.  The original recipe called for 12 cloves to cook for an hour so just go by that scale.


It should look like this when it's done.  Soft and caramelized.  It was all I could do to keep from just spreading this roasted garlic on a cracker and scarfing it down right then and there.  The lovely aroma that filled my house made me want to roast some garlic every morning to start my day.  It isn't a smell like sauteing garlic.  It's sweeter and more earthy.  Very nice.  I'll stop now and continue.
Wrap the garlic back up and refrigerate for a couple hours.


For the rice, give it a little rinse in a strainer then put it in a saucepan and cover with the water.  Bring the pot to a boil then reduce the heat and simmer for about 20 minutes.  After that time, use a fork to taste a little.  It is going to have a slightly heartier texture than white rice or even brown rice but if it's crunchy, add another tablespoon of water and simmer another 5 minutes or so until it's done.  Let the rice cool and refrigerate overnight.  If you suck at planning like I do, just refrigerate until the rice it's cold.  It's best when left overnight but the rice will gum up and stick to your pan if it's used right after cooking so cool it off for as long as you can for the best results.


When you're finally ready to put everything together, chop the bacon, onions, and scallions.  Also chop up the garlic.  The original recipe would have you leave the cloves whole but I like to get a little of everything in each bite so instead of having one bite of garlic and one bite of rice, I opted to mince the garlic before adding it to future steps.


Put a tablespoon of oil in a skillet and cook the bacon for about 7 minutes or until cooked through and slightly crispy. 


Transfer the bacon to a holding container, pour in another tablespoon of oil, and saute the onions until translucent and tender.  Throw in a dash of salt for seasoning (Using pork bacon produces a good deal of grease so you can just use that oil to cook the onions but I only buy low sodium turkey bacon so I needed to add oil).


When the onions are ready, add the bacon, rice, garlic, soy sauce, and five-spice.  The original recipe called for white pepper but I love the warmth of the five-spice so I made the call to change it up and it turned out perfect.  Cook everything together, stirring or tossing frequently, until thoroughly warmed and all the ingredients melded together.  Garnish with the scallions and serve.  Take out the sashimi and drizzle it with a bit of soy or ponzu sauce.


What you end up with is a delicious, nutty rice dish with a refreshing, cool sashimi dish.


The black rice barely tastes like rice.  It has such a wonderful nutty flavor that is unlike anything you've ever had. It quickly became one of the foods I want lots more of and a food around which I want to develop new recipes.  The rice was amazing all by itself and could have stood alone because of the meatiness of the bacon and the nuttiness of the rice.


I had the salmon left over from some sushi I made and didn't want its freshness to be wasted by cooking.  Adding fresh herbs and lemon to anything just adds a crispness that can only be magnified by the final dish being served cold.  It was a delightful complement to the hearty rice dish and every hard-to-find ingredient is totally worth the final result.

*Black rice, or more specifically Forbidden Rice, is very high in the antioxidant anthocyanin.  It is also very high in iron and fiber.  Yummy AND healthy!

Saturday, July 10, 2010

Sushi (Maki Rolls)

I've been getting my recipes organized this week since I finally have time to work on the cookbook I promised to make for my sister.  I have a friend who uses Shutterfly to make photo books of the puppets she sews and makes stories for.  They're so cool and really nice quality so I decided to use them.  I got the urge to make a cookbook for Monica because she's now attending my alma mater and while I will love Georgia Tech until the day I die, their dining hall food sucks.  I ate a whole lot of pasta while I was there and usually resorted to making rice in my room.  Since my sister is even less culinary-inclined than me, I figured she could benefit from a step-by-step guide of easy recipes I've tried for myself.  She always asks me to make sushi when she comes over because over the years, I've eaten enough of it and seen enough how-to TV shows to make some pretty good sushi rolls.  It's also quite expensive so if I'm able to find all the ingredients, dammit I'm going to make it myself. 

The word Sushi actually refers to the sweetened, vinegared rice so remember that the next time you're in cultured company.  Sashimi is the raw fish.  The two types of sushi you're probably familiar with are Nigiri and Maki.  Nigiri are the balls of rice topped with a thin slice of sashimi.  Proper etiquette states that if you dip the nigiri in soy sauce, you dip it fish side down.  Using your fingers is permitted.  Maki are the rolls that people usually think of when they think "sushi".  Etiquette for maki states that you do not eat the roll in more than one bite.  It's a big bite, but having a full mouth is better than letting all the filling fall out.  Also, even though I break this rule, you're not supposed to put the pickled ginger on the sushi rolls.  It is supposed to be a palate cleanser between bites.  These rules might seem silly but like I've said before, if I can, I like to stay as true to the traditional methods of international food as I can.  It also helps to look like you know what you're doing in front of well-traveled friends.

Anyway, back to the food.  This is how you make the sushi rice.


This is a package of nori sheets, rice vinegar, and sushi rice.  I've tried other rices and if you can find this one in the pink package, get it.  I like the texture.


This is the rice seasoning.  I used to only use rice vinegar but I was recently told by my friendly neighborhood Asian grocery store owner that this is what they use in Japan nowadays.  I tried it and it works fine but I like a more vinegar flavor so I added a splash at the end.


Rinse the rice to rid it of excess starch until the water runs clear (If you don't do this, your rice will be slimy). Then prepare the rice as per the directions.  For the rice I used, that means bring 2 cups rice and 2 3/4 cups water to a boil and then reduce the heat to low, cover, and simmer for about 20 minutes.

Transfer the cooked rice to a bowl and start adding the seasoning little by little, stirring and tasting between applications.  When it tastes a little sweet and a little tart, let it stand and cool to room temperature.  DO NOT put it in the fridge.  Just be patient.  The fridge will make the rice hard.  You know how bad that Chinese takeout was the next day?  It's because of the fridge.


So I'll show you a basic California Roll to demonstrate the appropriate amounts to put in a maki roll.  2 cups of sushi rice will yield about 6 (uncut) rolls, enough for 2 hungry people.  Crab Smart is the best tasting imitation crab I've found so if it's in your grocery store, go with it.  If not, use whatever looks good.  Cut a medium cucumber in half and then cut it into long 1/4" diameter slices.  Cut out the seeds while you're at it.  Make the same size slices out of the avocado.


Clear a workspace and lay down a bamboo mat (or any pliable placemat) covered with plastic wrap.  Have a glass of water to rinse your rice-pressing hand and a wet towel to wipe your slicing knife.


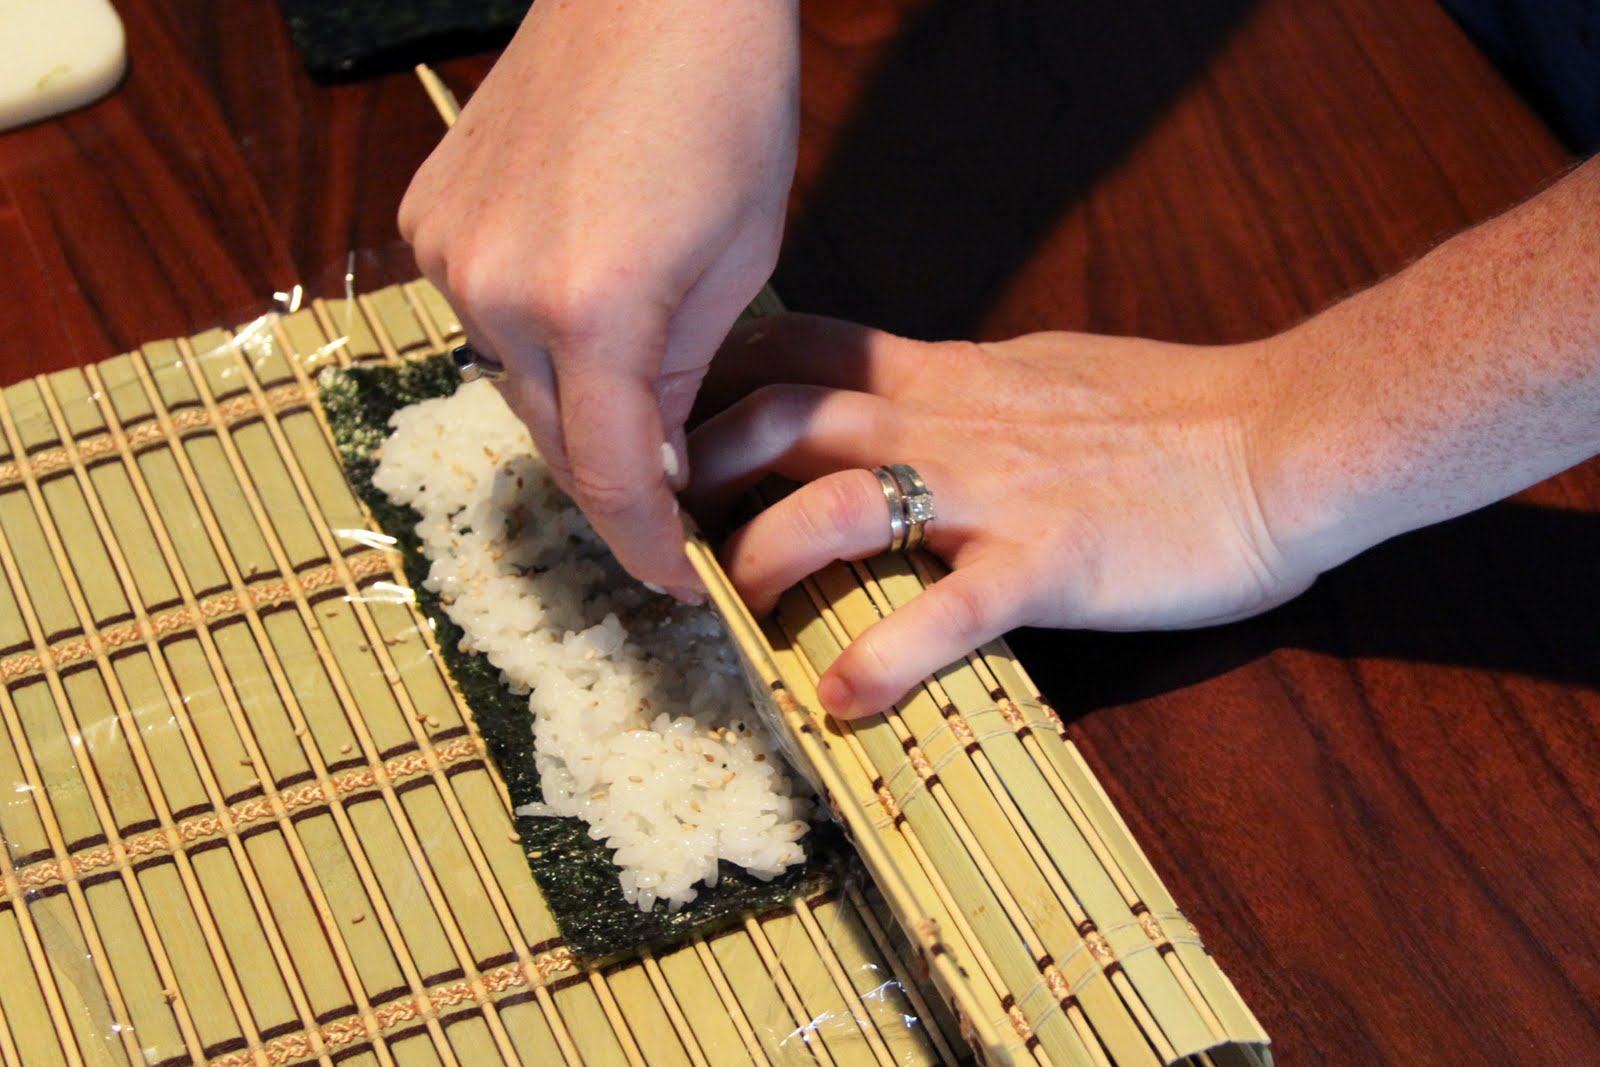
Wet a hand, scoop a small handful of rice, and press it into the sheet of nori.  Make a layer about 1/8" thick.  I like sesame seeds so at this point, I sprinkle some all over the rice.  Lay rows of the crab, avocado, and cucumber down evenly at one end.


Gently start to roll up the edge while holding the filling in with your fingertips.


When you've almost completed one rotation, start peeling the plastic back.  You don't want to make it part of the sushi roll.


With one hand, keep peeling the plastic and mat back and with the other, keep the roll tight with your fingers wide.


After completing the roll, wet a long, thin knife and slice it in half.  Put the two halves next to each other and cut them 3 more times, wiping the knife after each cut.


Repeat for as many rolls as you have and serve with wasabi paste (if you like it), pickled ginger, and soy or ponzu sauce.  Josh and I prefer ponzu sauce.  It's a citrus soy sauce and I just think it has a nicer and more complex flavor than regular soy sauce.  Making sushi for your friends is sure to impress them.  And it's so easy once you have the right ingredients.  These are only good for a few hours so don't try to make a big batch and refrigerate them like most of my other recipes.  The moisture in the rice makes the nori slimy and the rice gets hard (just like that Chinese takeout).  Just trust me on this so you don't end up wasting good sashimi.


Other recipes for maki rolls:

Sunset Roll
crab, masago (capelin/smelt roe), and tuna

Dragon Roll
tempura shrimp, avocado, tobiko (flying fish roe), cucumber, BBQ unagi (sashimi grade eel)

Boston Roll
shrimp, avocado, cucumber, tobiko (flying fish roe)

Unagi Roll
Unagi (sashimi grade eel), cucumber

Carolina Roll
crab, avocado, cucumber, pineapple, duck sauce

Dynamite Roll
BBQ unagi (sashimi grade eel), avocado, scallion, crab, cream cheese, crushed macadamia nuts


Tuesday, June 15, 2010

Miso Soup

Have you ever had something to eat in a restaurant and think, "that recipe is so good and seems so simple, I must make it at home"?  That was miso soup for me.  There was a sushi place in Atlanta that had the best I'd ever found.  They had several locations and each one made it differently for some reason.  I would go to my local Asian market and could see packaged soup mixes for days.  I was intimidated to try any, lest it suck and then I was stuck with several packets of expensive soup mix.  That and it just seemed wrong to get my favorite soup from a paper pouch.  Then one day, by some miracle from above, I was watching Good Eats with Alton Brown, my favorite Atlanta-area native, and the theme of the show was...wait for it...MISO SOUP!  I'd trust Alton Brown to be my surgeon, I love him so much.  One thing I love most about him is that he takes simple recipes and makes them completely from scratch.  Sometimes making your own beer or smoking your own salmon is a little beyond what I want to do but some really traditional dishes just beg to be made in the most deconstructed, traditional way.  This soup really does taste like the best restaurant miso soup you've ever had.  It's so hearty and is actually just as simple as you think it should be as long as you get the right ingredients.  It's also another one of those soups that keeps really well so I always make a big pot and eat it for lunch every day for a week.

The base stock of miso soup is called dashi. Traditional dashi is made by boiling kombu (edible kelp) and bonito (shavings of katsuobushi: dried, fermented, and smoked skipjack tuna).  Yes, it's fish stock.  You probably didn't even know it before I just told you so deal with it.  Today, it's usually made with prepared pellets similar to bullion but I like to make it from scratch if I can get my hands on the ingredients.

Here's how to make dashi and the miso soup is second.

This is what the instant dashi looks like
 

Two 4” square pieces of kombu
2 1/2 qt. water
1/2 oz. bonito flakes/katsouboshi


Soak the kombu in the water for 30 min.

It expands quite a bit in that time.

Heat the water over medium heat just until bubbles start to form on the edges.


Remove the kombu and bring the broth to a boil for 5-6 min.


Reduce the heat to low and add the bonito flakes.


Simmer for 10 minutes, stirring frequently.


Strain the bonito flakes out. They can be reused so you don't have to throw them away.  Dashi can be refrigerated for a week or frozen for a month.


Miso Soup


12 oz. block firm tofu
2 qt. dashi
6 tbs dark or red miso
2 tbs light or white miso
4 scallions, thinly sliced


Before you start cooking, take your block of tofu and wrap in in a few paper towels to squeeze out the excess moisture.


Weight it down under a plate and a can of something moderately heavy.  There are two basic types of tofu, silky and firm.  The silky has more moisture and has a texture just like its name, smooth and silky.  Alton Brown's recipe actually calls for the silky type but I tried the firm and preferred its meatier texture.  It's up to you, they taste the same. This needs to sit for at least 10 minutes so while you're waiting, heat up the 2 quarts of dashi you just made.


Measure the red and white miso into a bowl.  (Miso is amazing.  It's made from soy and has such an amazing, robust saltiness.  You can use it to make sauces or marinades in addition to soup so check back for other recipes.  You can find it in Asian grocery stores and it keeps for a long time in the fridge.)


Ladle a cup or two of the warm dashi into the bowl...


...and whisk it until there are no more miso lumps.  We want nice, smooth soup.


Pour the miso back into the pot.  The tofu should be ready by now so unwrap it and dice it up into little cubes of whatever size you desire.  Chop the scallions into thin slices while you're at it.  Pour it all into the pot and let it simmer for just a couple minutes to let the tofu absorb some flavors.


Serve it up and if you happen upon some of those fun spoons they use in Asian restaurants while you're in that Asian grocery store, get them.  Miso soup is way more fun to eat out of the big restaurant spoons.

Monday, June 14, 2010

Dumplings

I made these for the first time one day when my mom and sister were visiting and I realized I didn't have anything planned for dinner.  For some reason, I had some wonton wrappers in the fridge that I'd been meaning to play with and some ricotta cheese left over from Josh's lasagna.  I decided to experiment and make lasagna dumpling/raviolis and top them with marinara sauce I also had in the fridge.  They turned out so well that my picky sister just gobbled them up and I was inspired to experiment with several different fillings later.

Josh and I like to fantasize about what sort of food-based businesses we want to own someday.  A winery was on the list at one point, as was a pub.  They may still happen but right now it's an organic farm and a little restaurant.  Whenever we create a great recipe, we say that it's "going on the restaurant menu".  The first time I experimented with different kinds of dumplings, Josh totally said that our restaurant should be based around them and we'd have Asian and Mexican and Italian and so on.  It made me feel all warm and fuzzy.

Here is the basic technique for making the dumplings first and the recipes for different fillings and sauces I've tried follows.


These are the wonton wrappers I use.  They're the small square ones.  There are directions on back as to how to fold them but when I made them, I was sort of trying to show off and make pretty pyramid raviolis.  It was easy enough so I kept making them like that but you can use the package directions if you want.


It goes faster if you make an assembly line so clear a little work area and lay out 9 wontons at a time.  Spoon 1 tbs of filling onto the very center of each wrapper.


Using a basting brush or your finger, brush the edges of the wrappers with water.  Only do 3 at a time before folding because the water will make the edges mushy if they sit too long.


To fold them into pyramids, first pinch together 2 opposing corners.


Holding those corners with one hand, fold up the third corner and pinch it at the top.


Line up the edges and pinch them together from top to bottom.


Do the same to the last corner. 


Make sure the edges are sealed and squeeze out as much air as you can.  The steam inside could make them pop during cooking.


Repeat until you have as many dumplings as you think you can eat.  Then make a few more.  You'll want more, just trust me on this.


This is a bamboo steamer.  It is by far the best way to cook the dumplings.  If you don't have one, they're about $10 at an Asian food store or you could use a regular steamer basket.  The first time I made dumplings, I boiled them in water.  It got the job done but if you don't seal the edges perfectly, they open and all your filling falls out in the water.  Gross. 


Line the steamer with cabbage leaves.  No matter how much oil you brush on the steamer bottom, the dumplings will still stick so it needs to be lined with something.  I didn't have any whole leaves so I just used the chopped cole slaw mix I used for the filling.  Just make sure the bottom is covered.  Arrange as many dumplings as you can fit, making sure they don't touch.  Bamboo steamers have 2 layers and even if you stuff it full, both layers will cook evenly.  That's what I love most about it.

Cook the dumplings in the steamer over a rapidly boiling pot of water for 10 minutes.


Remove the steamer from the pot when you retrieve the cooked dumplings.  Steam burns.  Put on a nice big platter and eat them family-style.  That's my method of choice.


You'll be glad you made extra.  These are just too good.


Italian Pyramid Raviolis  (this makes about 6 raviolis)
3 tbs Ricotta cheese
1 tbs herbs de Provence
2oz cooked and diced chicken breast (about half a small breast)


Mix ingredients in a small bowl and spoon into wonton wrappers.


Dip them in your favorite warm marinara sauce.  It tastes just like lasagna. 


Spicy Asian Dumplings  (this makes about 8 dumplings)
1/2 tsp Chinese 5-spice powder
1 tsp sesame oil
1 1/2 tsp mirin (sweet wine)
1 1/2 tsp Sriracha
2oz cooked and diced chicken breast
1/2 cup shredded cabbage and carrots (cole slaw mix works well)


Mix the ingredients in a small bowl and spoon into wonton wrappers.


For the sauce:
1 tsp Japanese mayonnaise
1 tsp chile garlic paste
1/2 tsp sesame oil


Sweet Asian Dumplings  (this makes about 8 dumplings)
1 tsp ground ginger
1 tsp Chinese 5-spice powder
1 tsp sesame oil
1 tsp red miso paste
2oz cooked and diced chicken breast
1/2 c shredded cabbage and carrots (cole slaw mix works well)


 Mix the ingredients in a small bowl and spoon into wonton wrappers.


For the sauce:
2 tsp fresh grated ginger
1 tbs mirin (sweet wine)
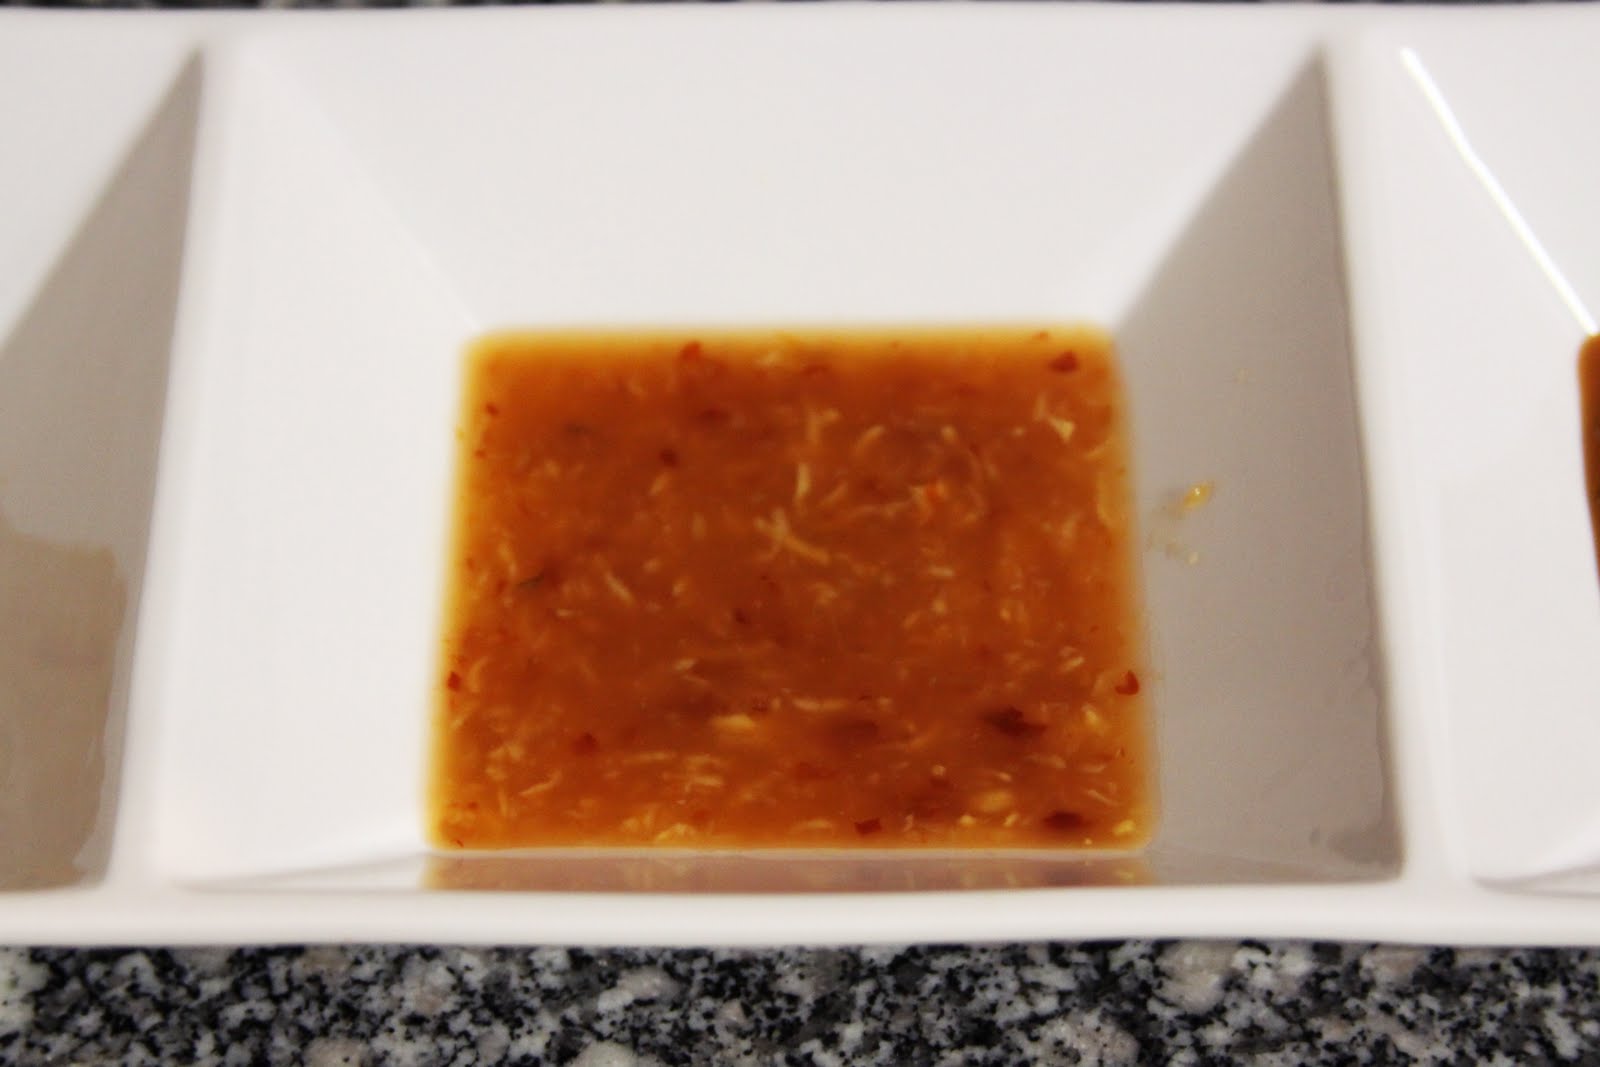
2 tbs sweet chile sauce


One more picture...I'm getting hungry.